
Last updated November 17, 2026
 Wrought iron
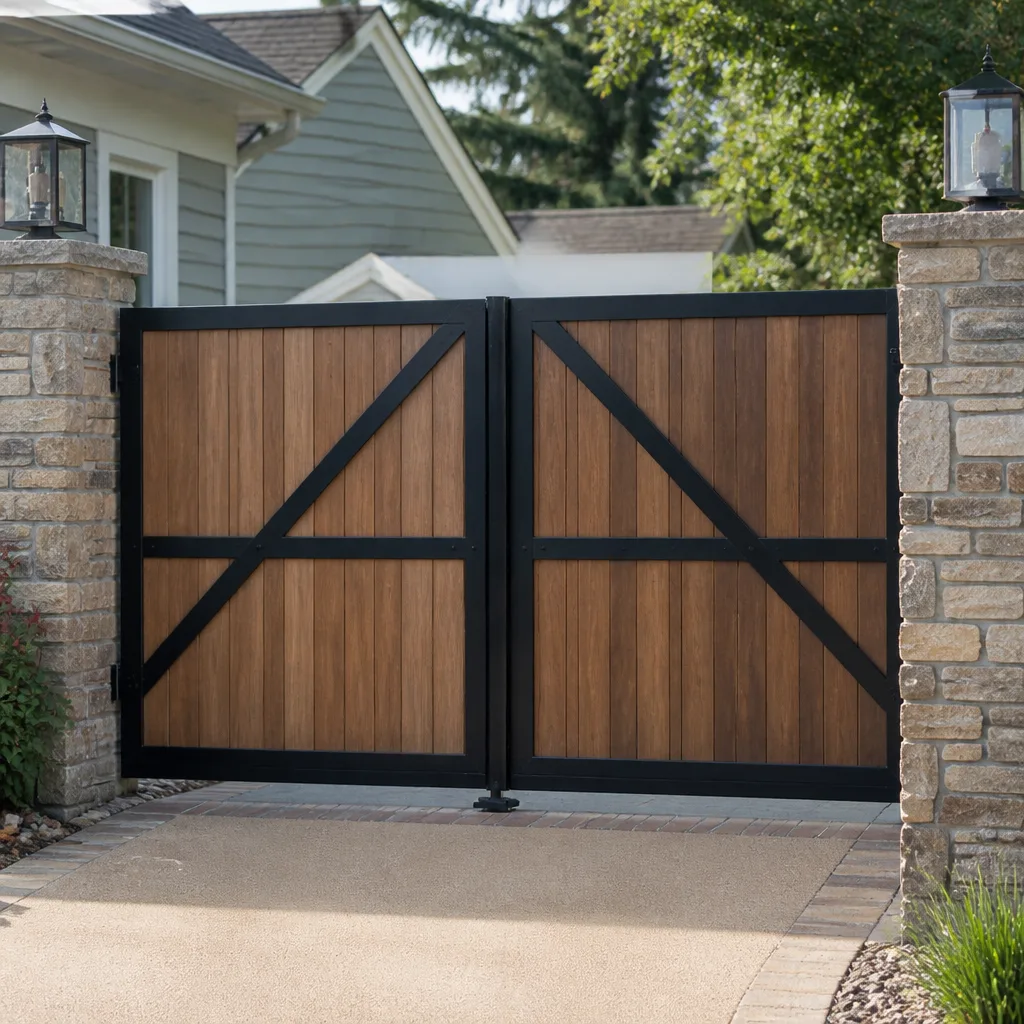 Wood & steel frame
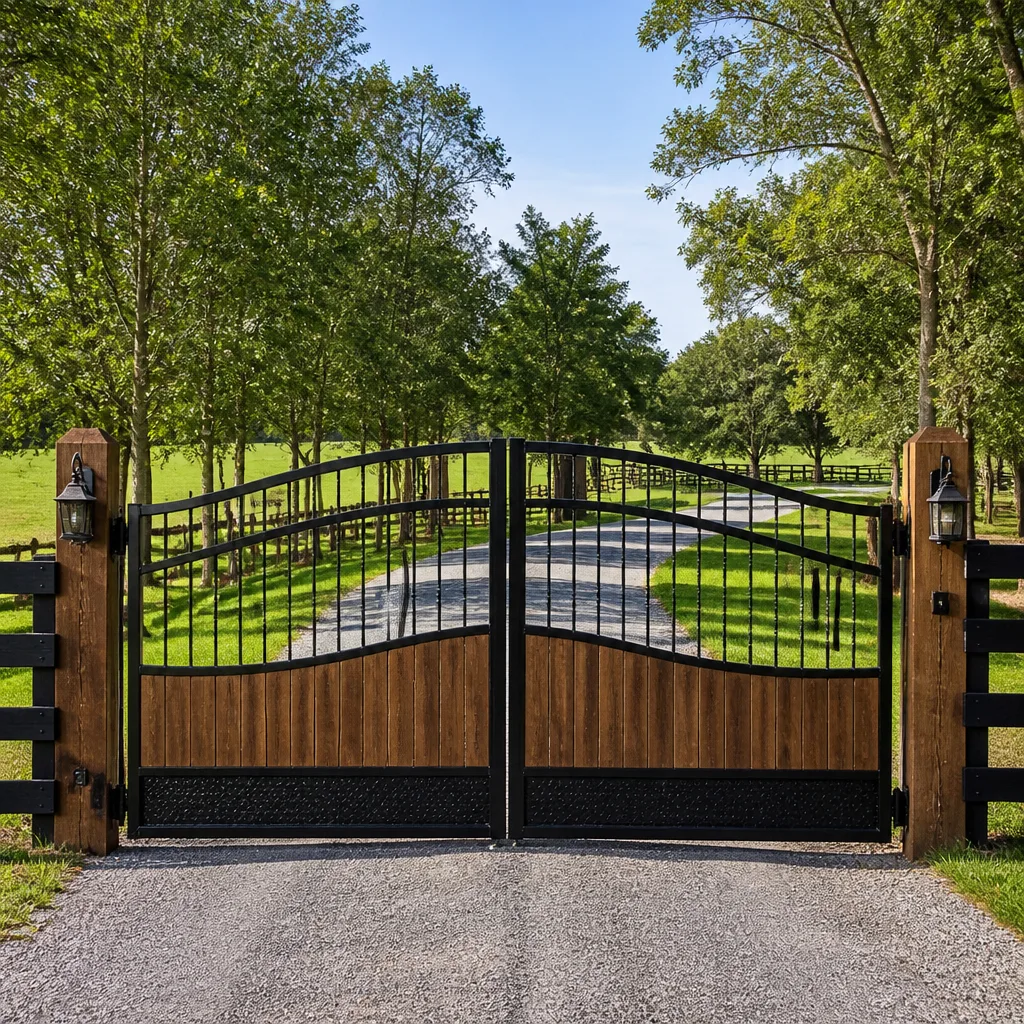 Farm & ranch
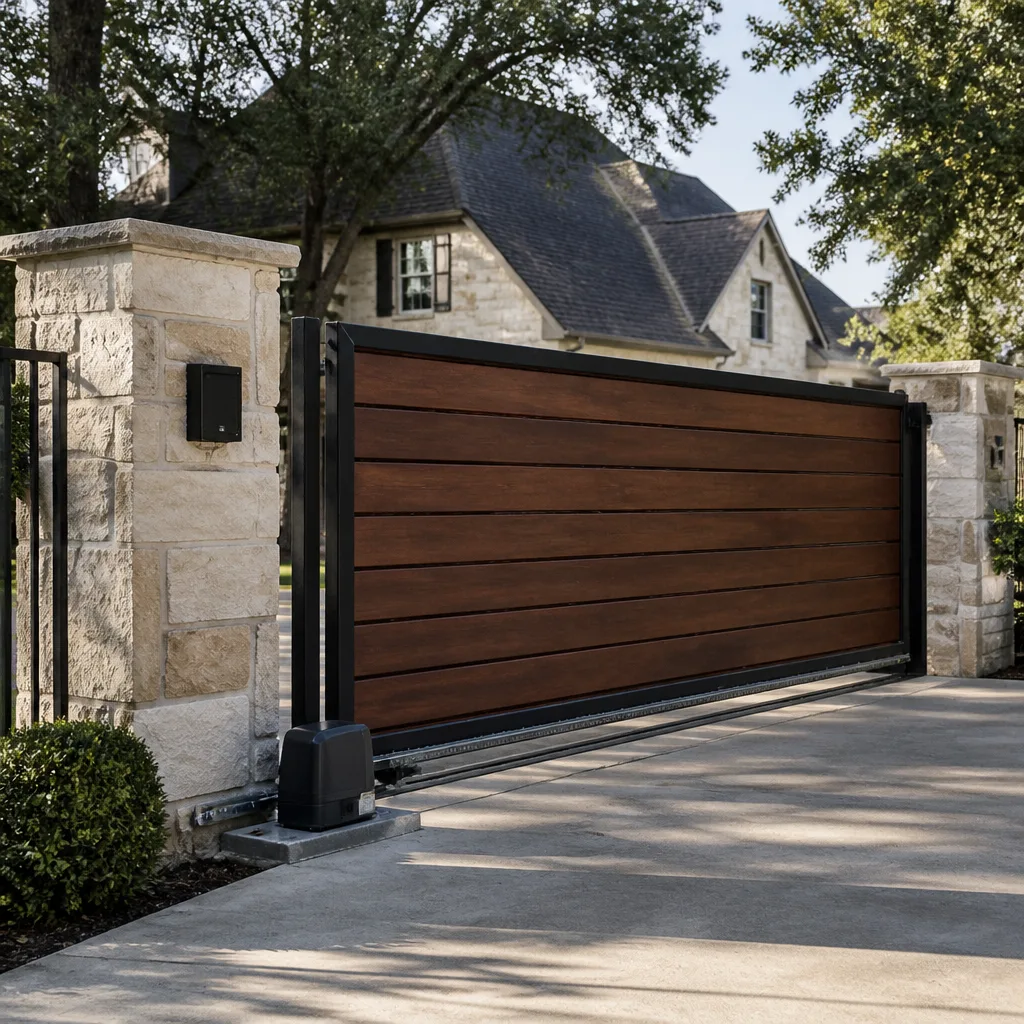 Sliding driveway gates
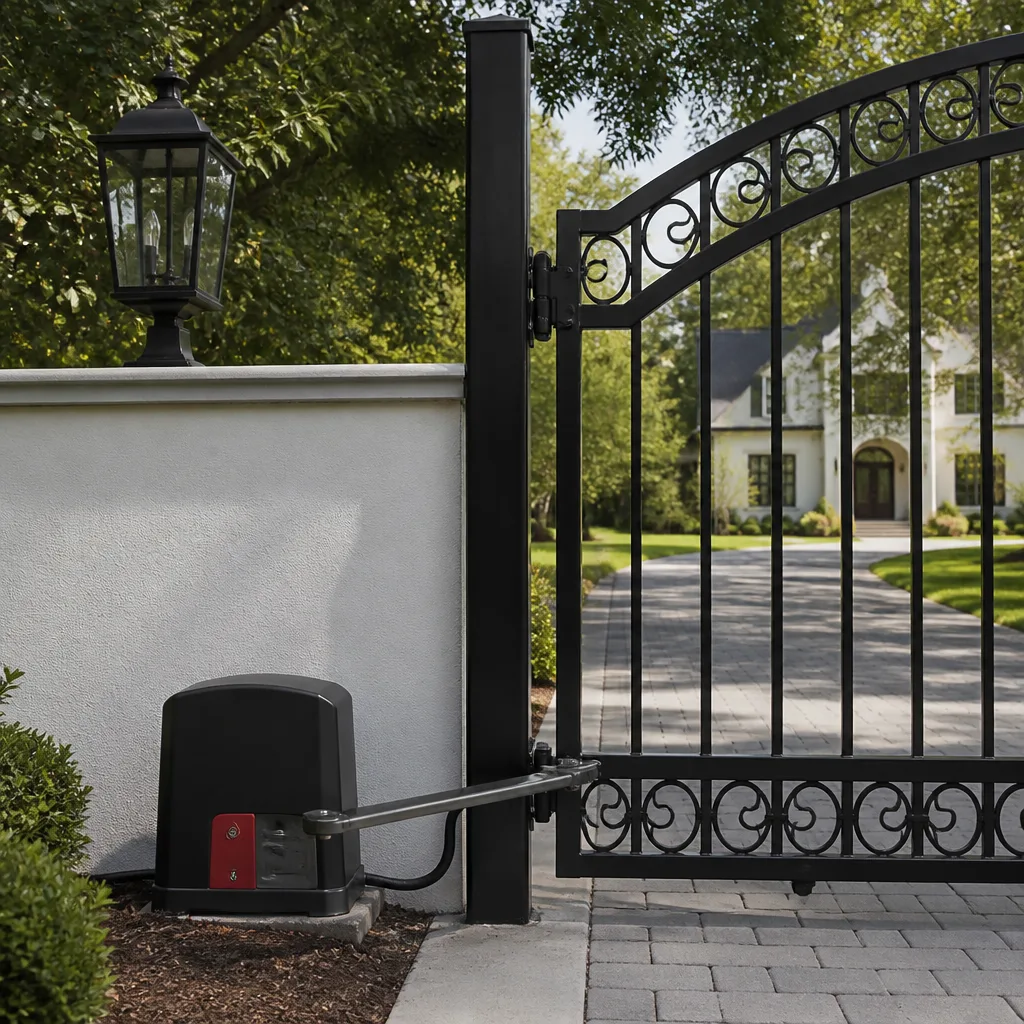 LiftMaster operators
Free on-site gate assessment - hinges, posts, and your LiftMaster or Nice gate operator checked before anything is quoted
The assessment is free and the quote is the invoice.
Get your free estimateGate Installation Warning Signs Every Homeowner Should Know
The most expensive gate repair calls we take aren’t from old gates. They’re from gates that were installed wrong within the last two years by someone who seemed perfectly competent at the time. The crew was friendly. The price was fair. The gate opened and closed the day they left. Then the sag started, the motor began stalling in the cold, and the phone number on the invoice stopped answering. In our experience working across Boulder City, the warning signs were all visible before the truck pulled out of the driveway. This guide gives you a plain checklist to run before the crew packs up and drives away, so you can spot a bad install while there’s still a warranty to hold someone to.
Quick Answer
The main warning signs of a bad gate installation are shallow or unplumb posts, uneven gaps between the gate and frame, wire nuts used on outdoor splices instead of weatherproof connectors, tack welds passed off as permanent joins, and a contractor who won’t put the scope in writing or run a full automation test cycle before leaving. Catch any one of these before final payment and you’re negotiating from strength. Catch them six months later and you’re paying to fix what should have been done right the first time.
Styles & brands we work with
- Wrought iron
- Wood & steel frame
- Farm & ranch
- Sliding driveway gates
- LiftMaster operators
Table of Contents
- Post Depth and Plumb: The Sign You Can’t Fix Later
- The Gap Test: What Even Spacing Tells You About the Hinges
- Wiring Shortcuts That Look Fine Today and Fail Within a Year
- What a Finished Weld Should Look Like (and What a Tack Weld Looks Like)
- Contractor Behavior That Predicts a Bad Install
- The Automation Test Cycle You Should Watched Them Run
- The Final Walkthrough Checklist Before You Pay
- Why Boulder City Conditions Expose Weak Installations Fast
Post Depth and Plumb: The Sign You Can’t Fix Later
Posts are the one part of a gate installation you can’t correct cheaply once the concrete cures. A gate hung on a post that isn’t set deep enough or isn’t plumb will feel fine for a few months, then start to lean as the ground shifts. In Boulder City, that shift tends to happen faster than homeowners expect. Our caliche-heavy soil drains poorly in spots, and the freeze-thaw cycles we get on the higher edges of town work a shallow post loose. By the time the sag shows up, fixing it means cutting out cured concrete, pulling the post, and starting over. That’s an installation-sized bill, not a repair-sized one.
Before the concrete is poured, you can spot a post that’s set too shallow in a few ways:
- The hole looks too wide and too shallow. A proper post hole goes deep and stays narrow. A wide, shallow hole suggests the crew hit hard ground and stopped early.
- No gravel at the bottom. Good installers put a few inches of gravel down first for drainage. Ask if you didn’t see it go in.
- The post moves when you push it. Before concrete, a post that rocks in the hole is under-supported, not just unsettled.
- They can’t tell you the depth. A crew that’s confident about its work will tell you the number without hesitation. A shrug is your answer.
After the pour, check plumb with a level on two faces of the post, not one. A post leaning a fraction of an inch off vertical looks harmless now. On a heavy estate gate, that fraction becomes an inch of sag within a season or two. If you’re seeing a gate in Boulder City that already leans, our gate repair service can assess whether the post itself is the problem or just the hinge hardware.
The Gap Test: What Even Spacing Tells You About the Hinges
Walk to the closed gate and look at the space between the gate frame and the fixed post it hangs from. Then look at the gap on the latch side. Then look at the gap along the top and the bottom. What you’re looking for is consistency. A gate hung with precision will show roughly even spacing all the way around, and that spacing won’t change as the gate swings open and closed.
Uneven or wandering gaps tell you the hinges were eyeballed rather than set with a level and a measurement. The problem with an eyeballed hinge is that it doesn’t announce itself the day of install. It shows up as friction, then as a gate that needs a shoulder to close, then as a motor that strains and eventually burns out trying to push a gate that’s fighting itself. We’ve seen this pattern on Boulder City driveways more than once, and it’s the kind of thing that masquerades as a “bad motor” when the real fault is a hinge set half a degree off.
Here’s the quick version of the gap test:
- Close the gate fully and photograph the gap on all four sides.
- Open it halfway and look at the top gap again. It should not change.
- Open it fully and check the bottom clearance. It should clear the ground evenly across its width.
- Let it rest open on its own. A well-hung gate stays where you put it. One that swings back is telling you the hinges are misaligned.
If any of those checks fail before the crew has left, you have every right to ask them to rehang before you settle up.
Wiring Shortcuts That Look Fine Today and Fail Within a Year
Open the control box on a freshly installed automated gate and you’ll see a tidy row of connections. What you can’t see from across the driveway is whether those connections were made with wire nuts, which belong inside a dry wall, or with weatherproof connectors, which belong outdoors. Wire nuts in an outdoor gate panel are one of the most common shortcuts we find, and they cause intermittent failures for months before the gate finally stops working and the homeowner thinks the motor is dead.
The sequence is predictable. Moisture works its way into the wire nut over a summer of monsoon humidity and winter cold. The connection corrodes. The gate starts opening partway, then stopping, then needing a second press to finish. Eventually the motor control board faults out. On a brand like BFT or Ghost Controls, a control board replacement is a real cost, and it traces back to a five-cent connector that should have been a proper weatherproof splice.
What to look for while the panel is still open:
- Wire nuts anywhere in the outdoor run. Ask them to redo any splice outside the box with weatherproof connectors.
- Untaped or uncapped connections. Every low-voltage wire should land cleanly on a terminal, not twist together in mid-air.
- Conduit that stops short of the box. Exposed wire at the entry point invites water in.
- No drip loop. The wire should dip below the box before entering, so water runs off rather than into the connection.
If your gate is already exhibiting those intermittent symptoms, our gate motor and opener service handles diagnostics on the nine major brands we’re trained on, and we’ll tell you honestly whether it’s wiring or the motor itself.
What a Finished Weld Should Look Like (and What a Tack Weld Looks Like)
A finished weld is a continuous bead with a uniform ripple pattern running its full length, like a row of overlapping coins. It’s raised slightly, it ties both pieces of metal together along the whole seam, and it’s ground smooth only if the design calls for it. A tack weld is a short blob set every few inches with visible gaps in between. Tack welds are used to hold pieces in place before the real weld goes on. When a tack weld is left as the “permanent” join, the gate looks finished but the seam is only attached at a few points.
The way to spot the difference without welding knowledge is to look for gaps. Run your eyes along any joint where two pieces of metal meet, especially at corners and where the frame meets the hinge tabs. If you see short blobs of weld with bare seam visible between them, that’s a tack weld left in place. On a gate that gets used twice a day, those joints will flex, open up, and eventually crack. In our experience, galvanized gates installed with tack welds often show hairline cracks at the corners within a year, and those cracks are where rust starts.
It’s also worth asking directly: “Is that a full weld or a tack?” A tradesman who did the work right will show you the bead with pride. A crew that didn’t will start explaining why tacks are “fine for this application.” They aren’t, on a gate that swings.
Contractor Behavior That Predicts a Bad Install
The gate itself will tell you a lot, but the crew’s behavior before and during the job tells you more. In our experience, the same handful of patterns show up on nearly every bad installation we get called out to correct in Boulder City. None of them are proof on their own. Together, they’re a strong signal.
- No written scope. You should have a written description of what’s being installed: post depth, concrete type, hinge hardware, motor model, and the specific list of brands and parts. Verbal scope is unenforceable. If they won’t write it, walk.
- No offer to pull a permit. Even where a permit isn’t strictly required, a contractor who never mentions the topic is a contractor who doesn’t know the local rules. In Boulder City, HOA and property-line questions come up around gate installations, and a crew that hasn’t thought about them is a crew that hasn’t done this very often here.
- Pressure to skip the automation test. A full open-close cycle, safety edge check, photo-eye check, and manual release test takes maybe fifteen to twenty minutes. Any pressure to “just call it good” is a red flag. Testing is where problems get caught while they’re still free to fix.
- No written warranty or guarantee. Every gate job should come with one. If it’s not on paper, it’s not there.
- Same-day pushes on jobs that shouldn’t be same-day. Installation is a measured, ordered, scheduled job. A crew that promises to install a full custom estate gate the same afternoon you call is a crew racing to a finish line they can’t reach properly.
- The invoice is bigger than the quote. A fair installer quotes before the first bolt turns and holds the number. If the final bill slides, that’s a preview of how they’ll handle a warranty call.
Every job we finish is covered by our 90-Day Done Right Promise in writing, and the price is settled before we start. That’s the standard we think every homeowner in Boulder City deserves from whoever they hire.
The Automation Test Cycle You Should Watch Them Run
The single most valuable thing you can do on installation day is stand and watch the full test cycle before the crew packs up. If they don’t offer, ask. A proper test takes under twenty minutes and it’s where almost every automation problem surfaces while it’s still their responsibility to fix.
- Full open and full close. The gate should travel smoothly in both directions with no stalling, no hesitation, and no unusual noise from the motor or operator.
- Safety edge or reversing test. Block or press the safety edge while the gate is closing. The gate must reverse immediately. If it doesn’t, that’s a serious safety issue, not a small adjustment.
- Photo-eye or obstruction check. Walk through the beam while the gate is closing. Same result: an immediate reverse.
- Manual release. Have them show you where the manual release is and how to use it, in case the power is out. You should be able to open the gate by hand without strain.
- Two or three full cycles back to back. Watch for any change from the first cycle to the third. Consistency is the point.
- Remote and keypad check. Every remote, and the keypad if you have one, should be tested at least once while you’re standing there.
If the crew resists running this cycle, that resistance is your sign. Certified automation work on brands like LiftMaster, FAAC, Linear, Viking, or Mighty Mule demands it. Ask them to run it or ask for a discount that covers a diagnostic visit later. They won’t like the second question, which tells you what you need to know.
The Final Walkthrough Checklist Before You Pay
Final payment is your last leverage. Once the check clears, your standing with most contractors drops to whatever their warranty actually says. Run this list before you hand anything over.
- Level and plumb on every post. Bring your own level, check on two faces of each. A phone level app is fine for this.
- Even gaps on all four sides of the closed gate. Photographs help for later reference.
- Full test cycle completed and passed. All six steps above.
- Written warranty in hand. Not a verbal promise. Something you can hold them to.
- Written scope matched to what was installed. Compare line by line.
- All remotes, keypads, and access codes handed over and working. A code that only the installer knows isn’t valuable to you.
- The panel closed, sealed, and clean. No loose wires, no missing covers.
If you weren’t home during the install, do this walkthrough yourself after the crew leaves but before you mail the final payment. Many installers will hold the last check pending your walkthrough. Ask for that arrangement before the job starts, in the written scope.
Why Boulder City Conditions Expose Weak Installations Fast
Not every installation warning sign will show up on a timetable you can observe. But in Boulder City, you usually get a faster read than a homeowner in a milder climate would. Three local realities work against a sloppy install.
- Soil movement. The caliche-heavy ground in much of Boulder City doesn’t drain the way typical garden soil does, and freeze-thaw cycles on the higher lots work shallow posts loose. A post that was just barely deep enough in a milder climate often starts to lean here within a season.
- Heat cycling on wiring and motors. Summer temperatures work expansion and contraction on outdoor splices and motor housings. That accelerates the failure of a wire nut splice. A weatherproof connector that’s properly installed holds up. A wire nut left exposed doesn’t.
- Wind exposure. Boulder City winds are steady, and a gate hung with imprecision on hinges becomes a gate that rattles and grinds. What might be an annoyance elsewhere is a hinge-wear accelerant here.
That’s part of why we’re particular about installation detail. The company that makes a 40-year-old gate close like the day it was hung is the company that hung it right in the first place. If you’re weighing a new installation, our gate installation service walks the same checklist above with the homeowner, on the driveway, before the last truck leaves. And if you already have a problem gate, our surrounding service area includes the Ironworks Gate Co. Boulder City home base, where we’d be glad to come take a look.
Common Mistakes to Avoid
- Paying in full before the test cycle. Any problem that surfaces after the crew drives away becomes your bill. Hold final payment until every test in this guide passes.
- Trusting the “it’ll settle in” line about a leaning post. Posts that lean don’t settle into straight. They settle into a repair bill that costs more than a reinstall would have.
- Assuming the brand name on the motor means the wiring was done right. A properly-installed budget operator will outlast a top-brand operator installed by someone who didn’t seal the panel.
- Skipping the manual release demo. Come summer, the first time the power goes out during a Boulder City wind event, you’ll want to know where the release is and that it works.
- Accepting a verbal warranty. What you can hold in your hand is what you can enforce. Anything else is a phone call you won’t win.
- Ignoring the small stuff on the final day. A missing bolt cover, a loose wire, an untested remote. These are easy to fix while the crew is still there and expensive to schedule a return trip for.
- Choosing a contractor on price alone. The lowest bid in Boulder City is usually the one with the fewest details in the scope. That’s not a coincidence.
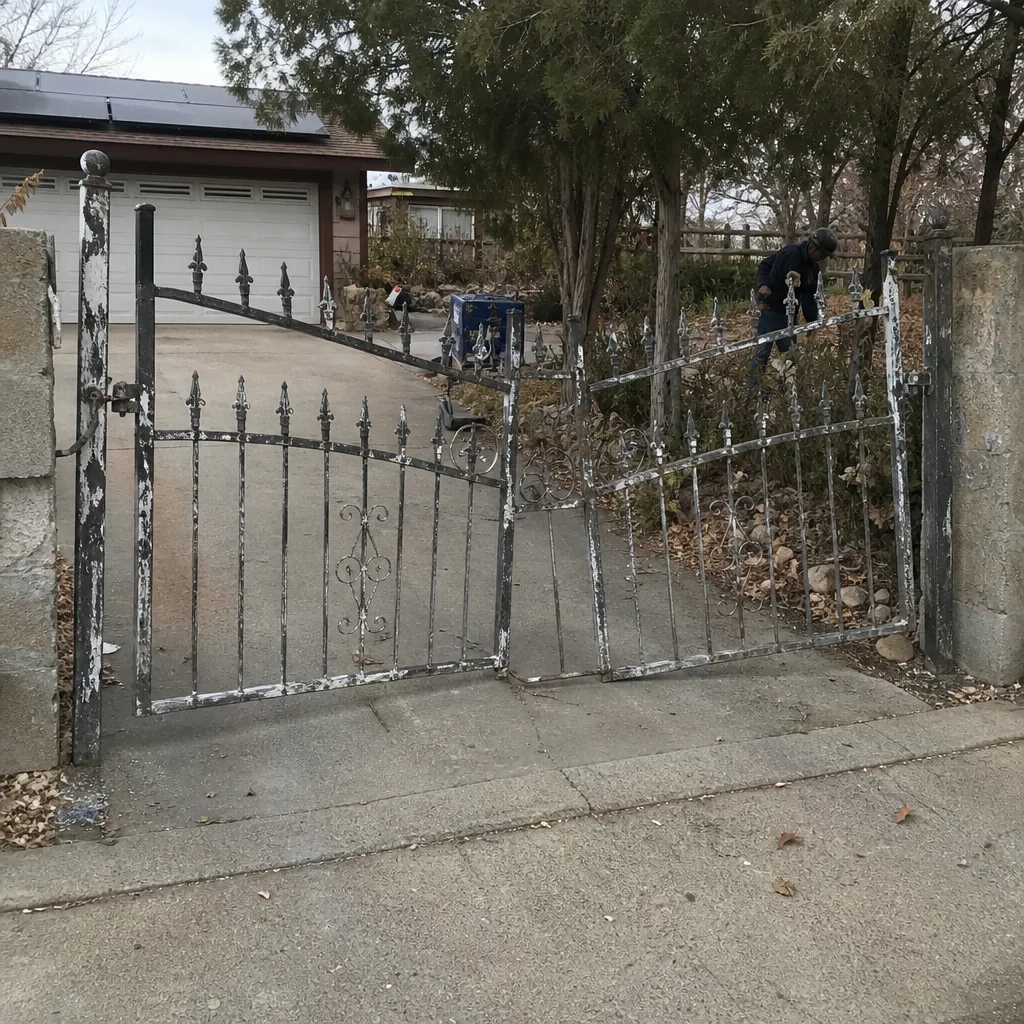
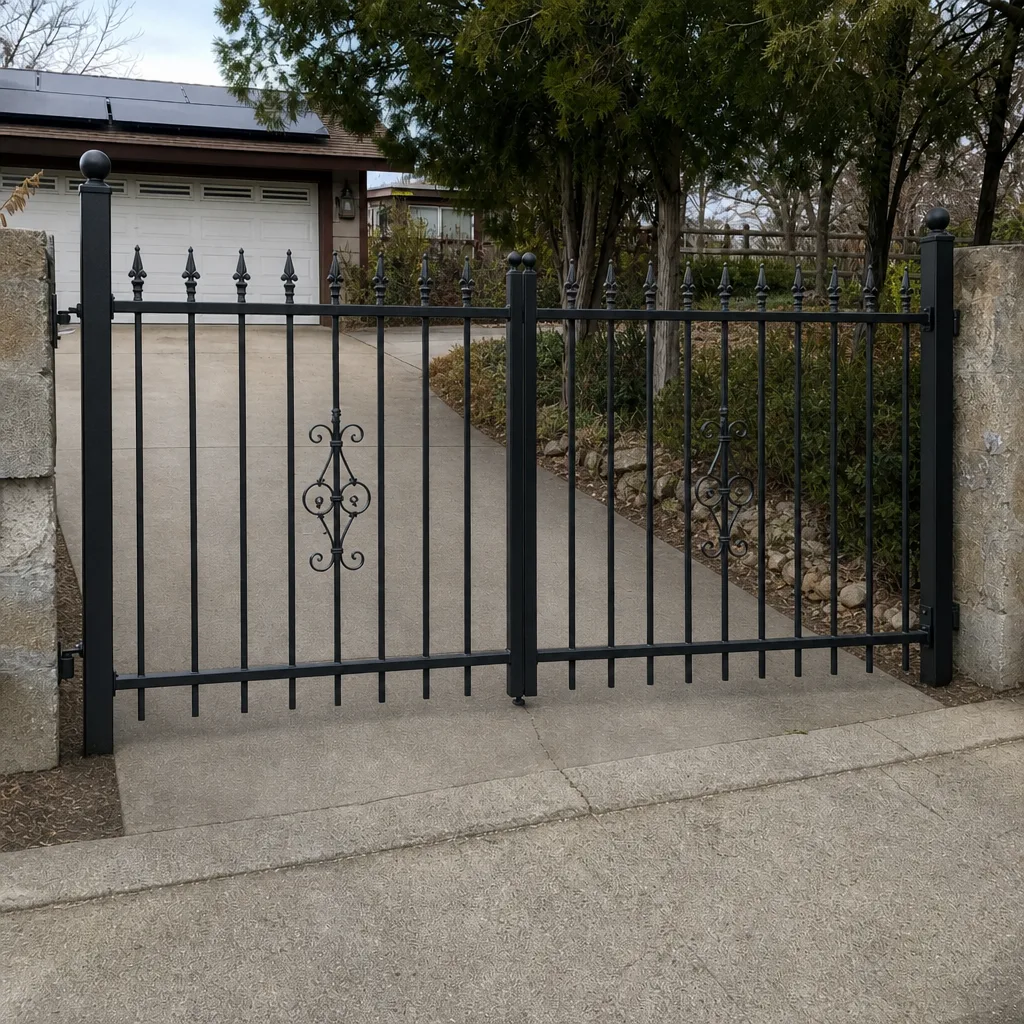
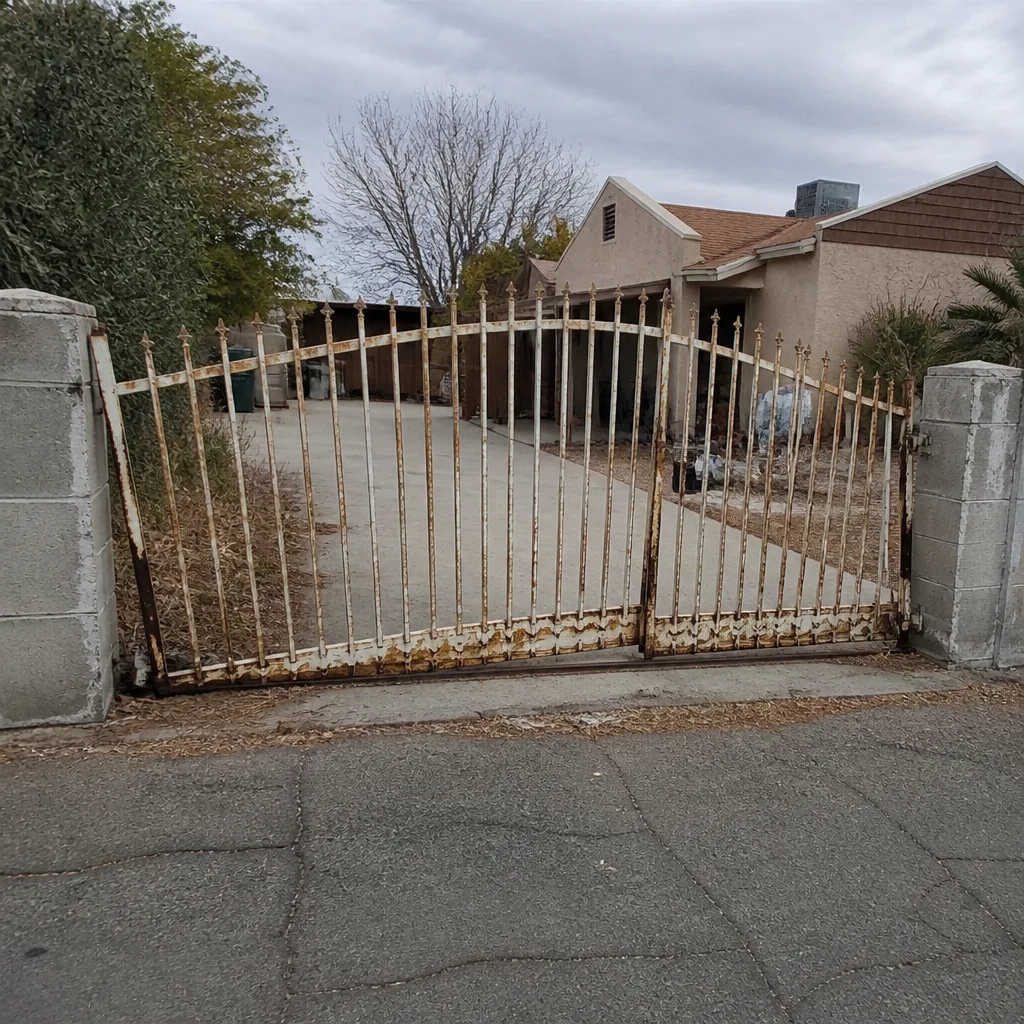
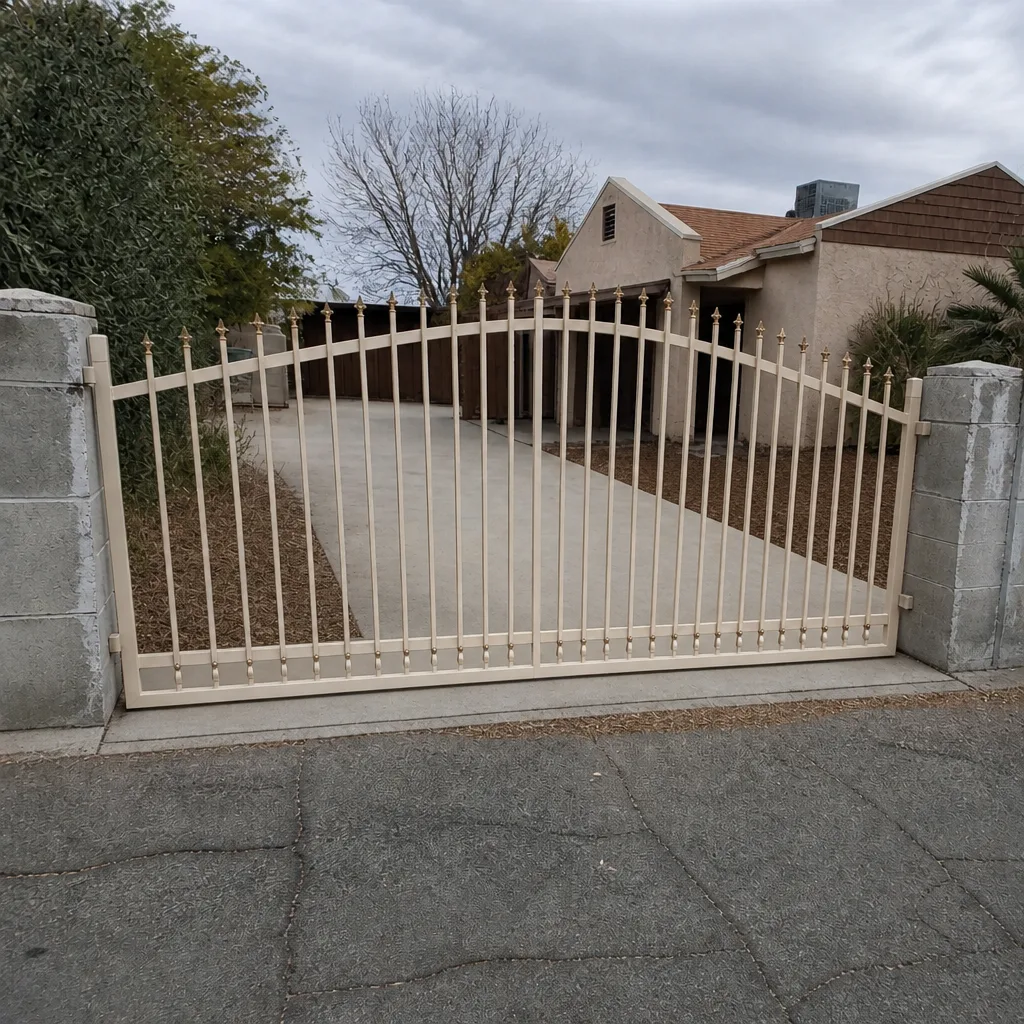
See the difference
 Before
 After
 Before
 After
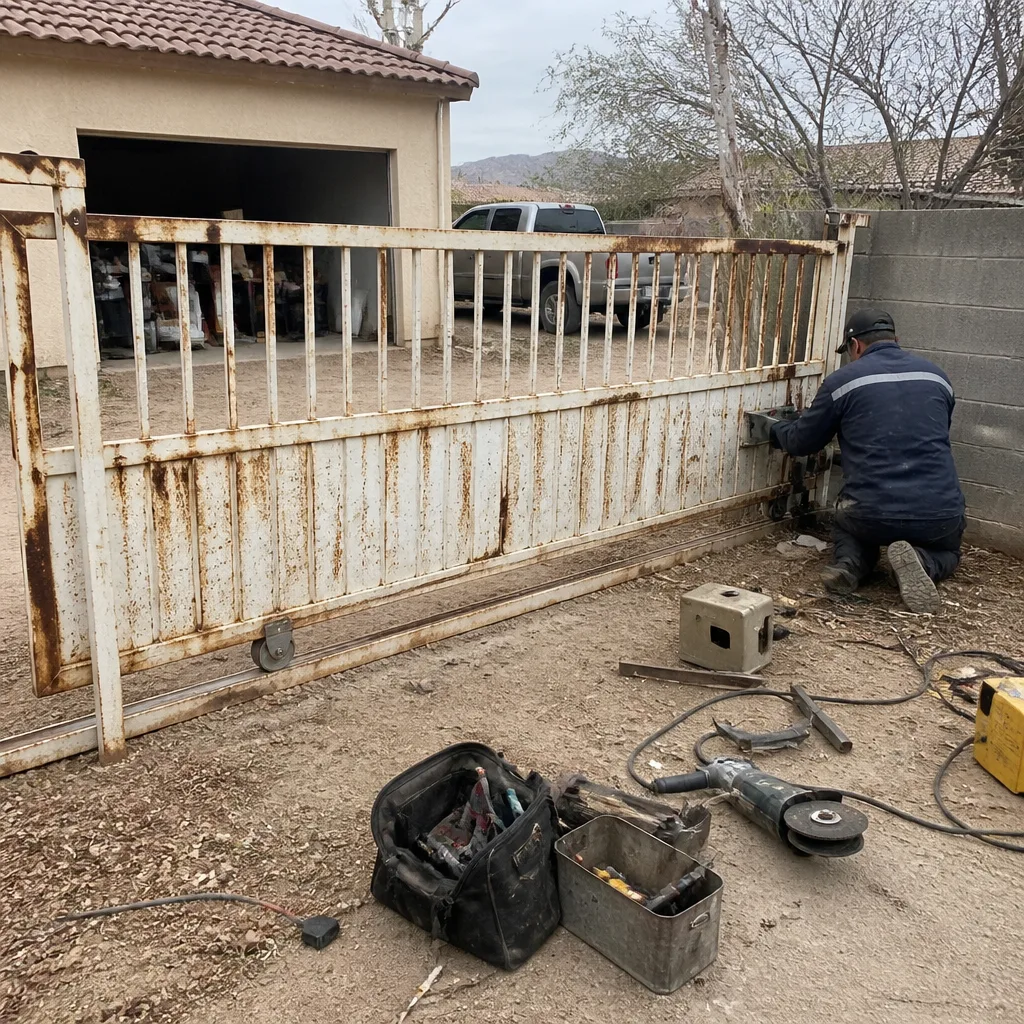 Before
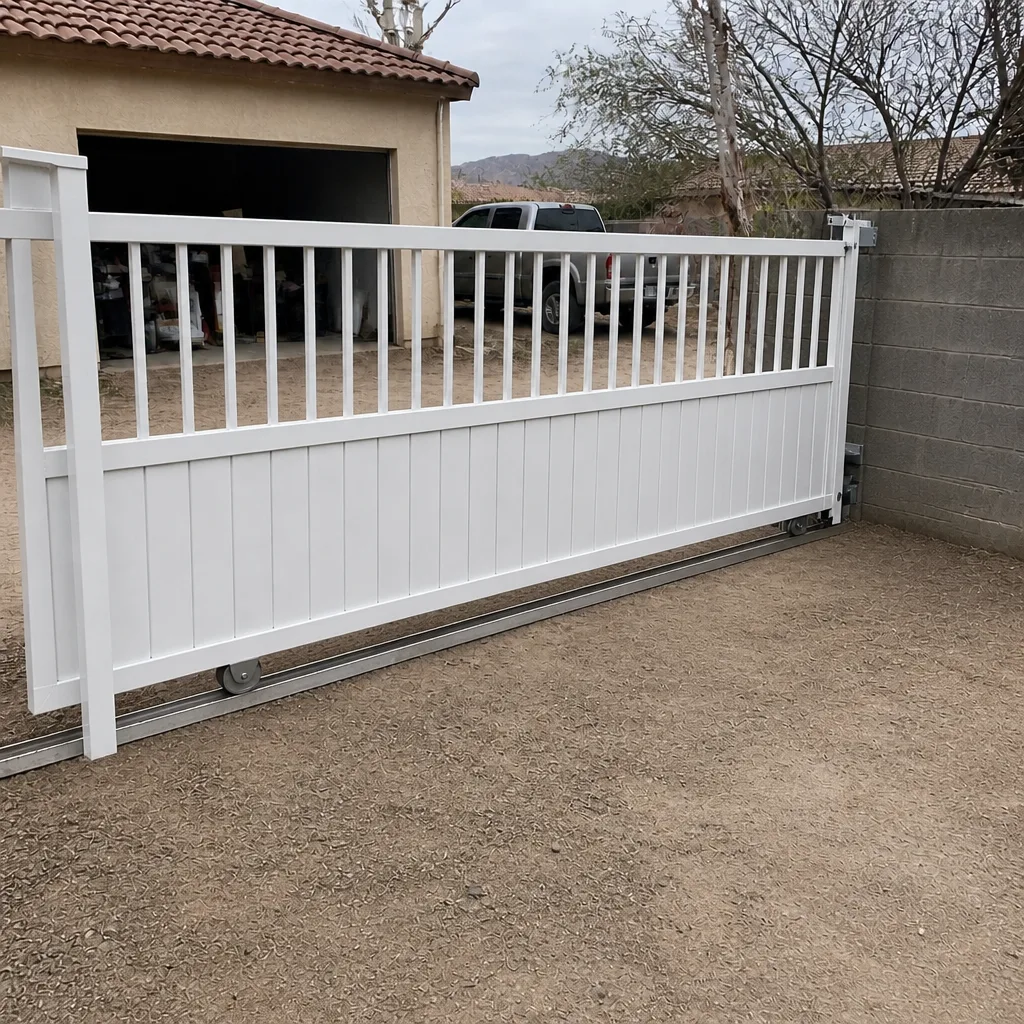 After
When to Call a Professional
Call a professional gate specialist when you have any of the following: a post that’s leaning or rocking, intermittent automation failures that come and go with the weather, safety edges or photo-eyes that don’t reverse the gate on obstruction, a gate that needs to be muscled to open or close, or a written estimate from another installer that you’re not sure about. High-tension springs, gate motors, and electrical connections aren’t the place to experiment with a DIY fix. The work involves stored energy and live circuits. Trained professionals use the right tools and know when the whole operator needs to be replaced rather than patched. Ironworks Gate Co. Boulder City offers free estimates in Boulder City. Call (888) 276-7609 and we’ll come look at what you have.
Frequently Asked Questions
In our experience, most improperly installed gates show the first real symptoms between six months and two years. The first signs are usually a hinge that starts rubbing, a gap that goes uneven, or a motor that starts stalling in the cold. The important thing is that the root cause was present from day one. Waiting longer doesn’t make the diagnosis any easier. If you’re already past the one-year mark and something feels off, call (888) 276-7609 for a free estimate on a proper fix.
Yes, for the visual signs. You can check post plumb with a level, run the gap test, look for tack welds with bare seam between them, and ask to see the automation test cycle. What you can’t do without training is judge the depth of the concrete footing or spot a control board issue from the symptoms alone. If your inspection turns up anything you’re unsure about, call (888) 276-7609 for a free second opinion on any written estimate you have.
A written scope should include the post depth, the concrete type and footing design, the specific hinge and latch hardware, the operator brand and model, the wiring approach (weatherproof connectors on all outdoor splices), the test cycle steps, and the written warranty terms. If a contractor won’t put all of that in writing, don’t hire them. Call (888) 276-7609 for a free estimate in Boulder City with a scope you can hold in your hand.
Often you do, particularly for automated gates and any structure close to a property line. The rules depend on HOA requirements, lot size, and how the gate connects to existing fencing. A contractor who never mentions permits when quoting your job is telling you something about how closely they follow local code. Ask any installer directly, and get the answer in writing. For a free second opinion on any written estimate, call (888) 276-7609.
A full weld is a continuous bead running the entire seam, with an overlapping ripple pattern and no gaps. A tack weld is a short blob every few inches with bare seam visible between them. A tack welded gate will look finished but will flex and crack at the joints within a couple of years of regular use. If you can’t tell the difference on your gate, call (888) 276-7609 and we’ll come look at it.
Intermittent stalling almost always traces back to one of two causes: a motor control board that’s failing because of moisture intrusion into a wired connection, or hinges that were set off-axis and are fighting the operator. Both are installation-quality issues, and both are fixable. Neither is going to fix itself. Call (888) 276-7609 for a free estimate and we’ll diagnose whether it’s the wiring, the hinges, or the motor itself.
The Bottom Line
The warning signs of a bad gate installation play out over years, not days, which is exactly why they’re easy to miss. Shallow or unplumb posts, uneven gaps, wire nuts in the outdoor panel, tack welds passed off as permanent, and a contractor who won’t put scope in writing are all things you can spot before the crew leaves, and every one of them is expensive to fix after the check clears. In Boulder City, the soil, wind, and heat cycles accelerate the failure of every shortcut. Run the checklist in this guide, watch the test cycle, and hold final payment until it passes. A gate done right is a gate you don’t have to think about for a long, long time.
If you’re weighing an installation or something on your current gate feels wrong, call Ironworks Gate Co. Boulder City at (888) 276-7609 for a free estimate. Every job is covered by our written 90-Day Done Right Promise, every price is settled before a single bolt is turned, and a live person answers the phone 24 hours a day, 7 days a week.
Written by the team at Ironworks Gate Co. Boulder City.